
Setting a static IP address for a MikroTik Access Point can be essential for better network management, remote access, and IP-based rules. However, many users face a common issue: once the static IP is set, the device loses internet access. This article explains how to set static IP for MikroTik Access Point properly without interrupting its internet connectivity.
Whether you’re managing a small home setup or an enterprise-level deployment, the process can be straightforward — if you follow the right steps. This guide will walk you through the entire configuration, common pitfalls, and how to verify your setup works.
Why Set Static IP for MikroTik Access Point?
Before diving into the steps, let’s briefly review why you should set static IP for MikroTik Access Point:
- Easier device identification on your network
- Better integration with firewalls and port forwarding rules
- Prevents IP conflicts during DHCP lease renewals
- Ensures uptime for monitoring and management tools
While DHCP is convenient, relying on dynamically assigned IPs can create problems for advanced setups.
Understanding the Problem: Loss of Internet
So, why does setting a static IP sometimes cause a MikroTik access point to lose internet access? In most cases, it’s because of one or more of the following:
- Incorrect Gateway IP
- Wrong DNS settings
- Conflicts with DHCP Server
- Static IP outside of allowed range
- Missing default route configuration
That’s why we’re going to walk through a methodical approach that avoids these pitfalls.
Step-by-Step: How to Set Static IP for MikroTik Access Point (Without Losing Internet)
The following steps assume you’re connected to the MikroTik Access Point via Winbox, WebFig, or SSH. The example used here is with Winbox, but the logic is the same for all interfaces.
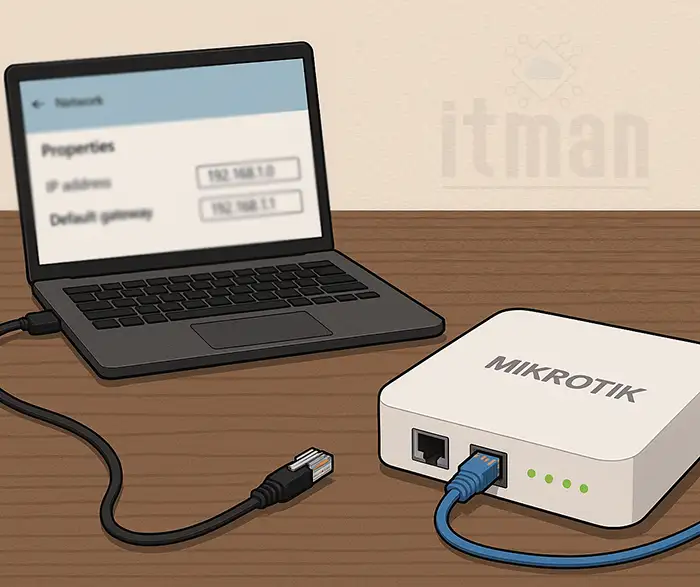
Step 1: Identify Your Current Network Settings
Before you change anything, note your current (working) IP settings.
- Open Winbox
- Go to IP > Addresses
- Find the IP that was assigned via DHCP
- Note:
- IP Address
- Gateway (usually your router’s IP)
- DNS servers
You’ll reuse most of this information.
Step 2: Disable DHCP Client (Later)
Don’t rush to disable the DHCP client yet. First, configure everything under static IP. Once it’s tested, then remove the DHCP client to avoid conflicts.
Step 3: Assign a Static IP Address
- Go to IP > Addresses
- Click the “+” button
- Enter the IP address you want to assign statically (make sure it’s within the same subnet but outside the DHCP pool to avoid conflicts)
For example:
If your router uses
192.168.1.1/24and the DHCP pool is from192.168.1.100to192.168.1.200, then use something like192.168.1.10/24.
Set the interface to the correct port (usually ether1 or bridge depending on your setup).
Click Apply and OK.
Step 4: Set Default Gateway
This is one of the most critical steps when you set static IP for MikroTik Access Point.
- Go to IP > Routes
- Click “+” to add a new route
- In Dst. Address, enter
0.0.0.0/0 - In Gateway, enter your router IP (e.g.,
192.168.1.1)
This route ensures that all non-local traffic knows where to go (i.e., to the internet).
Click Apply and OK.
Step 5: Configure DNS Servers
DNS is what allows your MikroTik AP to resolve domain names. Without DNS, even if routing is correct, internet services like time sync or packages won’t work.
- Go to IP > DNS
- Set DNS servers manually:
- Google:
8.8.8.8,8.8.4.4 - Or use your ISP’s DNS servers
- Google:
Also, check the box for “Allow Remote Requests” if you want the MikroTik device to serve DNS to clients.
Click Apply and OK.
Step 6: Test the Internet Connection
Now that everything is in place, test if the access point still has internet access:
- Go to New Terminal (within Winbox)
- Type:
ping 8.8.8.8
If you get replies, the device has internet.
Then test DNS resolution:
If that works, DNS is configured correctly too.
Step 7: Disable the DHCP Client
Once you’ve confirmed everything is working fine with your static IP, now it’s safe to remove or disable the DHCP client.
- Go to IP > DHCP Client
- Select the client entry
- Click Remove
This ensures that the access point doesn’t override your static IP settings on reboot.
Step 8: Set Static IP for MikroTik Access Point Clients (Optional)
If you have devices connected to this MikroTik Access Point and want them to have consistent IP addresses too, you can either:
- Create DHCP leases (IP > DHCP Server > Leases > Make Static)
- Or manually assign IPs on the devices (but make sure they don’t conflict)
This is especially useful if you’re using the MikroTik AP as a router or hotspot.
Troubleshooting: What If You Still Lose Internet?
Even after following all the steps, if you lose internet, here are a few things to check:
- Gateway is wrong: Double-check that the default route (
0.0.0.0/0) points to the actual router IP. - DNS not set: Try pinging
8.8.8.8. If that works butgoogle.comdoesn’t, the issue is DNS-related. - Firewall rules: Sometimes, firewall rules block outgoing traffic from new IP addresses. Check your firewall rules under IP > Firewall > Filter Rules.
- Wrong Interface: Make sure the static IP is assigned to the correct interface. If you’re using a bridge, assign it to the bridge, not ether1.
Best Practices When You Set Static IP for MikroTik Access Point
- Always keep static IPs outside the DHCP pool
- Document your changes (IP, DNS, routes) for future reference
- If you’re working remotely, avoid applying changes without a rollback plan
- Consider reserving static IPs in your DHCP server to prevent future overlaps
Use Cases Where Static IP is Essential
You should set static IP for MikroTik Access Point especially in the following scenarios:
- Remote access via port forwarding or VPN
- Centralized monitoring (e.g., with The Dude or Zabbix)
- Wireless controller deployments
- Running a hotspot gateway with radius authentication
- Bridged mode APs that need to be reachable consistently
Frequently Asked Questions (FAQ)
1. Can I set static IP for MikroTik Access Point through WebFig?
Yes, the same steps apply through WebFig. Just navigate to the respective menus under IP > Addresses, Routes, and DNS.
2.What if I want to manage multiple MikroTik APs?
Use a structured IP plan. For example, reserve .10 to .20 for static APs and label each one. Use scripts or central management tools like CAPsMAN or Dude.
3.Is it better to reserve IPs via DHCP or set statically?
If you’re in control of both the router and the access point, either works. But for maximum reliability, direct static assignment on the AP gives you more control — especially when remote access or firewall rules are involved.
4.Will setting static IP affect Wi-Fi performance?
No. Setting a static IP only affects the management interface. It doesn’t impact wireless throughput or client handling, unless misconfigured.
5.Do I need to reboot after setting static IP?
Usually, no. MikroTik applies changes immediately. But if you notice odd behavior, a reboot can help clear any conflicting cache.
Conclusion
If done right, setting a static IP for MikroTik Access Point gives you greater control, stability, and ease of management — without sacrificing internet access. The key is to configure IP address, route, and DNS together and only then disable DHCP. Follow the method outlined above, and you won’t lose connectivity during or after the change.
Whether you’re a network admin or a power user, knowing how to properly set static IP for MikroTik Access Point is a valuable skill in your networking toolkit.