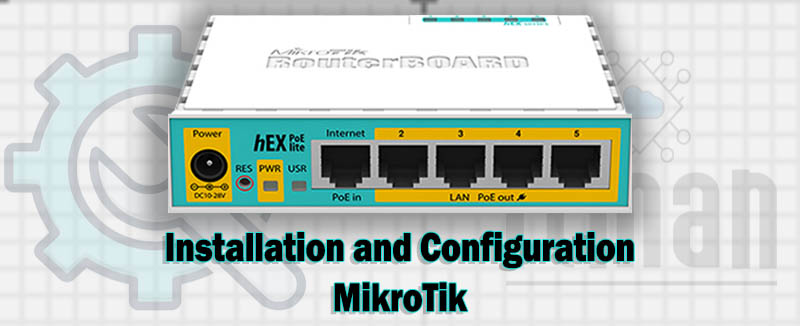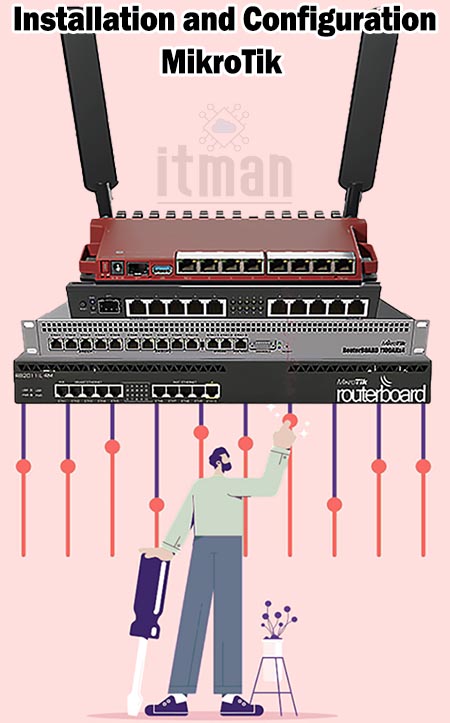
At ITMan, we provide comprehensive services for the Installation and Configuration of MikroTik equipment. Trust our skilled experts to handle your networking needs with precision and efficiency. Contact us today to learn more about how we can support your projects.
Choosing ITMan for Installation and Configuration of MikroTik needs ensures you receive expert service from highly trained professionals who understand the intricacies of MikroTik products. We offer:

- Expertise: Our team is well versed in MikroTik wide range of devices, ensuring accurate setup tailored to your specific network requirements.
Customized Solutions: We tailor the configuration to your business needs, optimizing your network for performance, security, and scalability.
Efficiency: We work quickly and efficiently, minimizing downtime and ensuring your network is up and running smoothly in no time.
Ongoing Support: Our service doesn’t end after network installation . We provide ongoing support to ensure your network continues to operate at its best.
Proven Track Record: With numerous successful MikroTik deployments, our experience speaks for itself. You can trust us to deliver reliable and effective network solutions.
By choosing us, you’re ensuring that your network is built and maintained by professionals who are committed to quality, security, and performance.
In the following, we aim to introduce the installation and configuration of MikroTik equipment and guide you through the essential steps and key considerations of this process. MikroTik, as a leading brand in the networking industry, offers a wide range of tools for managing and optimizing various networks. We will explore the step-by-step process of setting up and configuring these devices to help you build and maintain a stable and secure network.
Installation and Configuration of MikroTik
At ITMan our company, we specialize in the installation and configuration of MikroTik equipment, ensuring that your network operates at its best.

Our team of experienced professionals is well-versed in the intricacies of MikroTik devices, from initial setup to advanced configurations. We meticulously handle everything from IP addressing, VLAN setup, and routing protocols to security settings and performance optimization.
Whether you're setting up a new network or enhancing an existing one, our experts are equipped to provide tailored solutions that meet your specific requirements. We use top-quality equipment and cutting-edge techniques to ensure a reliable and efficient network environment.
By choosing our services, you can trust that your MikroTik network will be configured for optimal performance, scalability, and security. We are committed to delivering the highest level of service with speed and accuracy. Contact us today to discuss how we can assist with your MikroTik installation and configuration needs.
Which Equipment do we use for Installation and Configuration of MikroTik?
For the installation and configuration of MikroTik, we use a range of specialized equipment to ensure optimal network performance and reliability. This includes:
MikroTik Routers and Switches: We primarily use MikroTik routers and switches, known for their versatility and powerful routing capabilities.
Cabling: High-quality Ethernet cables (Cat5e, Cat6, or Cat6a) are used to ensure stable and fast connections between devices.
Power Supplies: Reliable power supplies and PoE (Power over Ethernet) injectors are utilized to ensure uninterrupted power to MikroTik devices.
Network Adapters: We employ network adapters to facilitate connections between different types of devices or to expand the network.
Wireless Access Points: For wireless networking needs, we use MikroTik access points and other compatible devices to extend coverage and enhance wireless connectivity.
Rack Mounts and Enclosures: Proper mounting equipment is used to securely install MikroTik devices in data centers or other network setups.
Monitoring Tools: We use network monitoring tools for testing and configuring the network, ensuring everything runs smoothly after setup.
Firewall and Security Appliances: Security is paramount, so we also deploy security tools and configure firewalls to protect your network.
Step-by-Step guide to configuring MikroTik router
1. Access the Router
- Using Winbox: Download Winbox from the MikroTik website and connect your PC to the router using an Ethernet cable. Open Winbox, click on the "..." button to discover the router, select it, and connect using the default username
admin(no password). - Using WebFig: Connect your PC to the router, open a web browser, and go to
http://192.168.88.1to access WebFig. Login withadmin(no password). - Using CLI (Command Line Interface): Connect via SSH using a terminal application or directly via the console port.
2. Reset Configuration (Optional)
- If the router has previous configurations, it’s a good idea to reset it to factory defaults. In Winbox/WebFig, go to System > Reset Configuration, check the "No Default Configuration" box if you want a completely blank setup, and then click Reset Configuration.
3. Set Up Basic Router Configuration
- Change the Admin Password: Go to System > Users, select the
adminuser, and change the password. - Set Router Identity: Go to System > Identity and set a name for your router.
4. Configure Network Interfaces
- Assign IP Addresses: Go to IP > Addresses and assign IP addresses to the router interfaces. For example:
- Assign a LAN IP:
192.168.1.1/24toether1. - Assign a WAN IP: Use the public IP assigned by your ISP.
- Assign a LAN IP:
- Set Up DHCP Server (For LAN): Go to IP > DHCP Server and set up a DHCP server on the LAN interface (e.g.,
ether1). - Set Up DHCP Client (For WAN): Go to IP > DHCP Client and add a DHCP client on the WAN interface (e.g.,
ether2).
5. Configure Routing
- Set Default Gateway: Go to IP > Routes and ensure a default route (0.0.0.0/0) is set via your WAN gateway.
6. Configure Firewall and NAT
- Basic Firewall Rules: Go to IP > Firewall and configure basic rules, like allowing LAN traffic, dropping unauthorized traffic, etc.
- NAT Configuration: Set up NAT for outgoing traffic by going to IP > Firewall > NAT and adding a masquerade rule for your WAN interface.
7. Set Up DNS
- Go to IP > DNS and add DNS servers provided by your ISP or use public DNS servers like
8.8.8.8. Ensure you enableAllow Remote Requestsif you want the router to act as a DNS server for LAN clients.
8. Configure Wireless (If Applicable)
- Go to Wireless and configure the wireless interface. Set the SSID, security profile (WPA2 is recommended), and choose the appropriate frequency.
9. Configure Additional Features
- VPN Setup: If needed, configure a VPN for secure remote access.
- QoS (Quality of Service): Set up traffic prioritization under Queue.
- Logging and Monitoring: Go to System > Logging to configure log levels and destinations. Use Tools > Torch for network monitoring.
10. Backup Configuration
- Go to Files and create a backup of the configuration. Store it in a safe place.
11. Test and Validate
- Ensure that the router is working as expected by testing internet connectivity, accessing network resources, and verifying security settings.
12. Final Touches
- Document the configuration and any custom settings for future reference.
This step-by-step guide covers the basic configuration of a MikroTik router. Depending on your network needs, you might need to add more advanced settings like VLANs, advanced firewall rules, or custom scripts.


