

Installing VoIP (Voice over IP) system is a crucial step for businesses looking to optimize their communication infrastructure. Issabel is a popular open-source VoIP platform that offers a comprehensive suite of tools to manage voice, video, and messaging services. Whether you’re setting up VoIP on a virtual machine or an HP server, the installation process is a key first step toward creating a reliable and scalable communication system.
In this guide, we will provide a detailed, step-by-step approach to installing Issabel VoIP on both virtual machines and HP servers. By following this guide, you will be able to seamlessly set up your VoIP environment, ensuring efficient communication and smooth operations for your business.
Need professional help with VoIP installation or Issabel setup? Contact us today for services at (+971)-557248055 or message us on WhatsApp for more details.
VoIP Install: How to Set Up Issabel on ESXi Virtual Machine and HP Servers
There are two methods for installing Issabel:
- Installation on hardware
- Installation on a virtual machine
In this guide, we will use the ESXi virtual machine installation method. For this tutorial, we will use an HPE server to install VMware and Issabel. The process of direct installation on hardware is similar to the software installation method.
Hardware Requirements for Issabel Installation
Issabel 4, based on CentOS 7.2, has specific hardware requirements to ensure smooth installation and operation. Here are the minimum hardware specifications required for installing Issabel:
- Processor: Single-core x86 processor
- RAM: At least 1GB
- Storage: 10GB of hard disk space
Keep in mind that for handling simultaneous call recordings and a larger number of users, you will need a more powerful processor and better storage.
- Recommended Storage: SSD drives are highly recommended as they offer faster performance compared to standard hard drives.
Simultaneous calls can impact hardware performance, so ensure the hardware meets the required specifications for your expected usage.
Note that the number of extensions and trunk lines will not affect the performance or impose any limitations on the system.
Download Issabel
To install the Issabel PBX system, first download the ISO file of the program from Here
This download link is from the official Issabel telephony software website. For this tutorial, we will be using Issabel version 4. We will use this file to install Issabel in the VMware ESXi virtualization software. If you intend to install Issabel on a desktop computer in a virtual environment, you can perform the installation using VMware Workstation.
How to Install Issabel on a Server
We have already installed the ESXi virtualization software on the HP server. I recommend reading the tutorial article on how to install ESXi on an HP server.
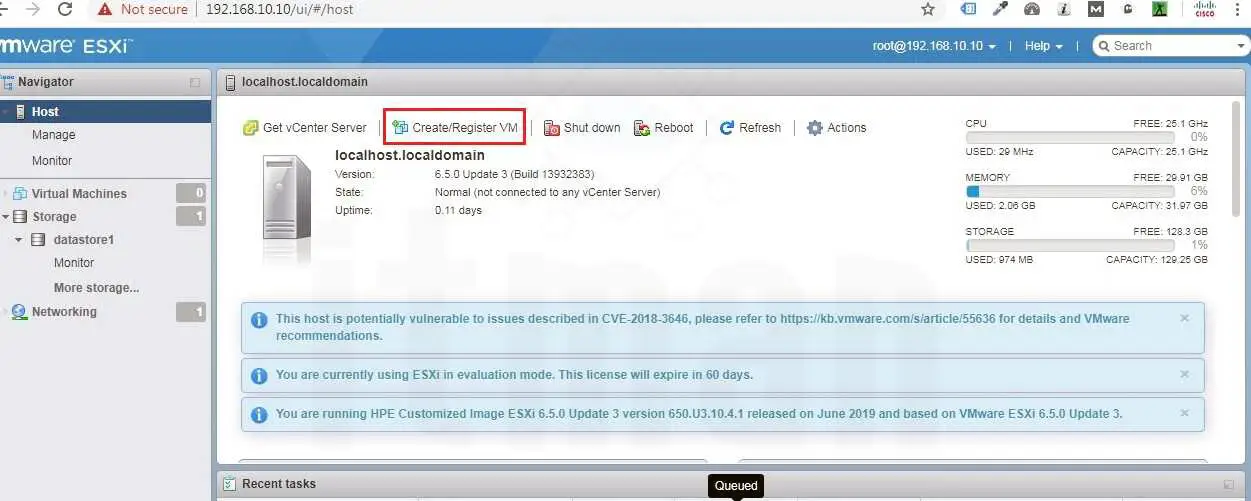
- To create a virtual machine for the Issabel program in the ESXi environment, first, enter the ESXi console IP in your Windows browser.
- After entering the username and password, you will access the ESXi management console.
- From the Navigator menu, click on the HOST submenu.
- Next, as shown in the image, click on the Create/Register VM option.
Next, we select the first option, Create a New Virtual Machine.
In the Guest OS Family field, select Linux as the operating system type.
In the Guest OS Version field, select CentOS 7 as the version.
In the following steps, we will configure the hardware settings.
Required Hardware:
A virtual machine with CentOS 7 Linux has been created.
From the left menu, Navigator, click on Virtual Machine.
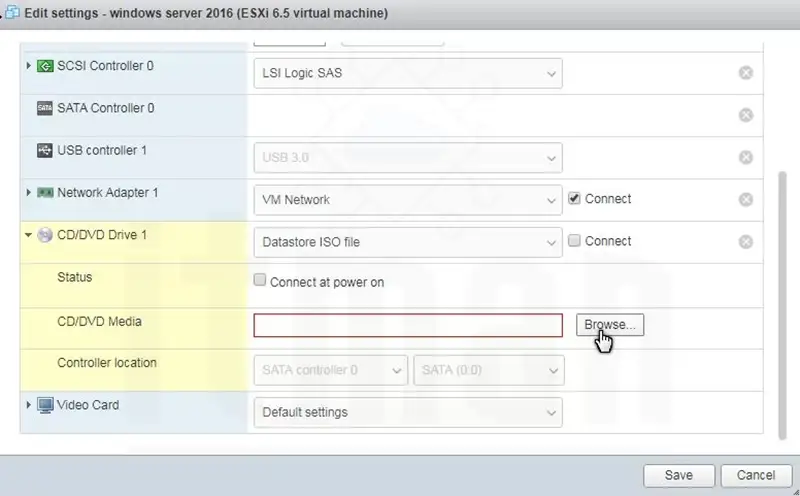
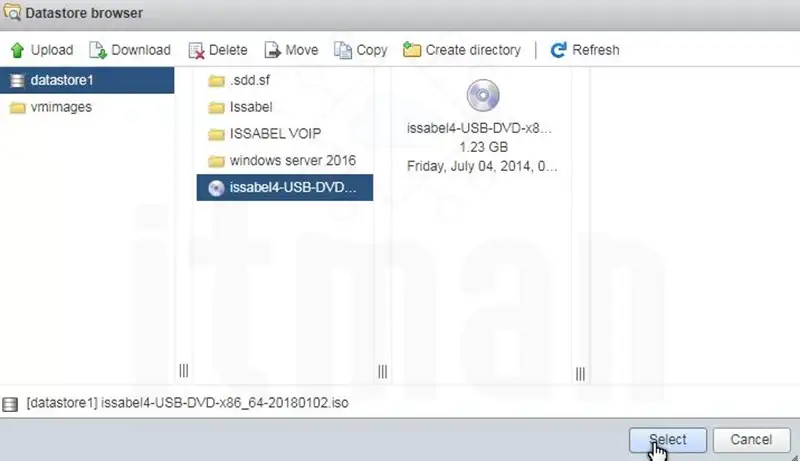
Now, we need to install the Issabel ISO file that we previously downloaded onto the virtual machine.
Right-click on the virtual machine and click on Edit Settings.
As shown in the images below, we will now introduce the Issabel ISO to ESXi.
In the next step, we power on the Issabel virtual machine and open the console.
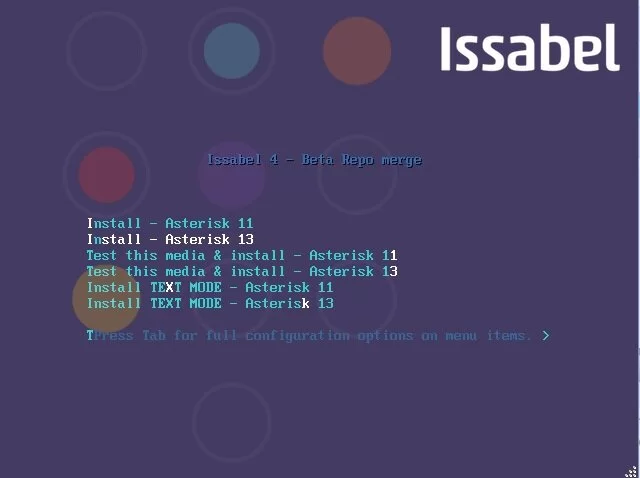
As shown in the image, the Issabel installation window will appear.
We select the Install option.
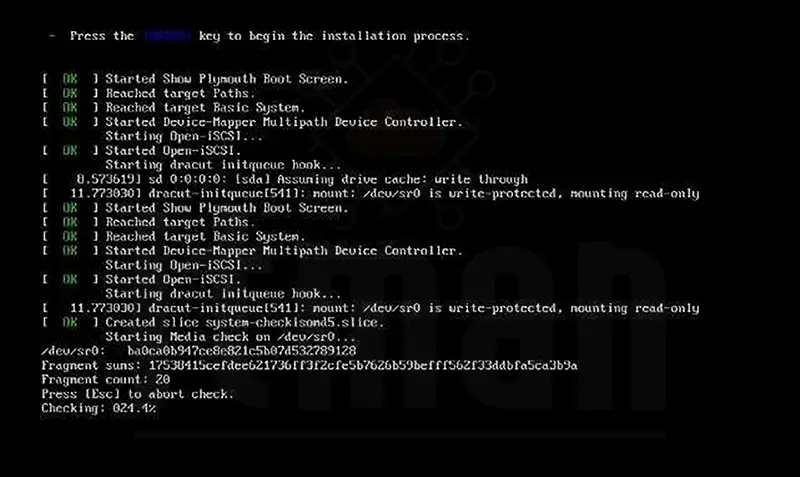
 In the next step, we reach the following page, and by pressing the Enter key, the installation process will begin.
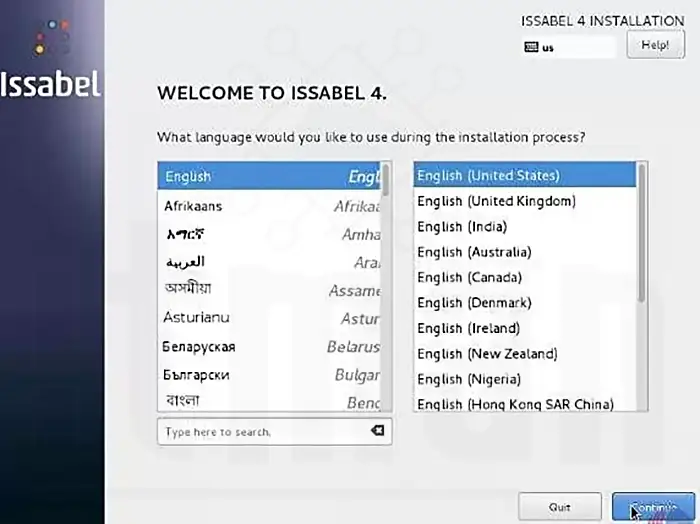
Wait for a moment until the following page appears. On this page, we select the language for the installation process.
In the Date and Time section, we set the time and time zone.

Then, click on the Done button, and you will return to the previous page.
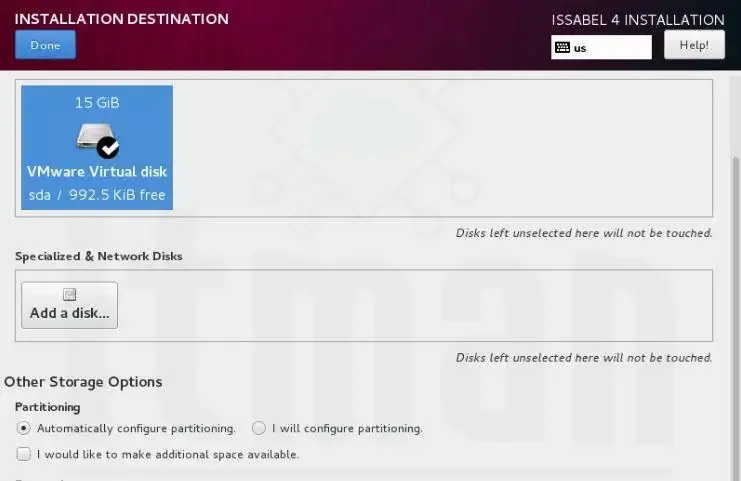
This time, we navigate to the Installation Destination section.
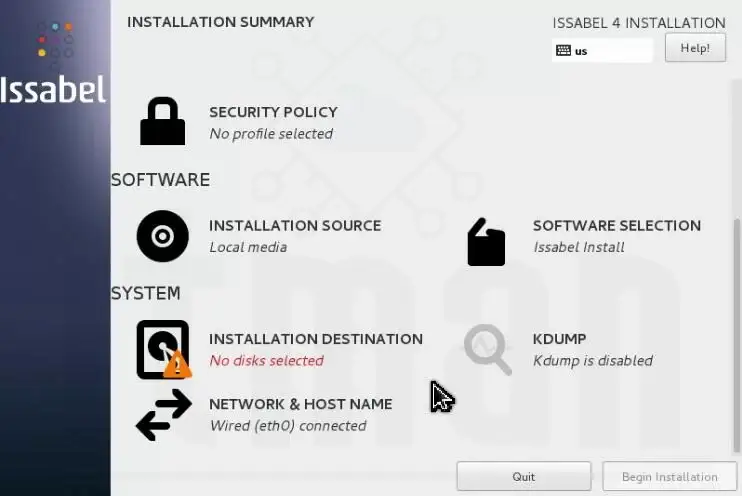
We select the desired hard disk.
In the Partitioning section, we choose Automatically configure partitioning. Then, click Done and return to the previous page.
How to Install Issabel on a Server
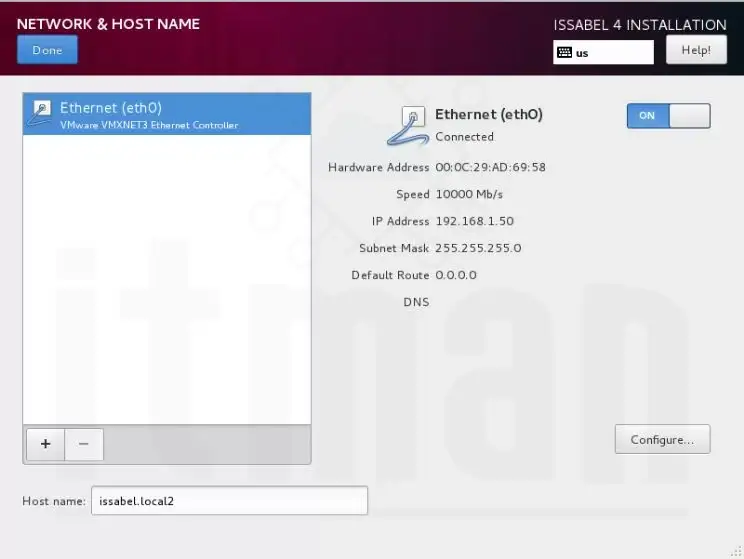
Click on Network & Hostname to access the network settings.
Click on Configure, and you will be directed to the following page.
Select the IPv4 Settings tab and set the Method to Manual.
Now, click Add and configure the necessary settings.
Please note that the selected IP range should be within the IP range of the ESXi virtualization environment.
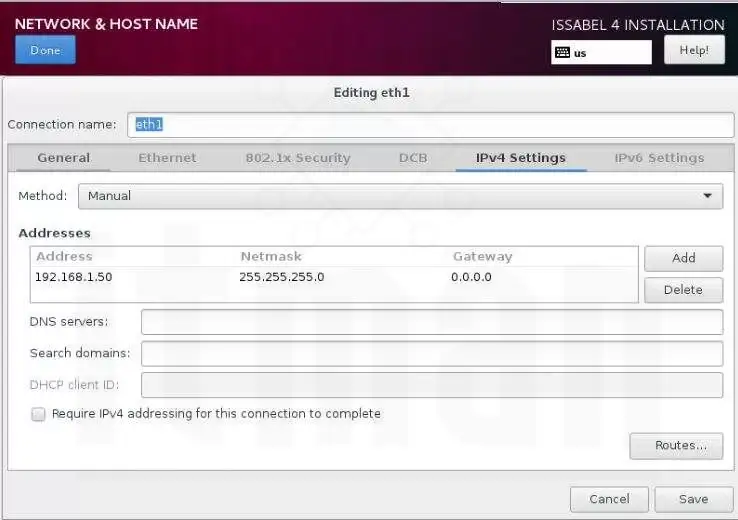
Save the settings and click Done. You will return to the main page.
Now, click on the highlighted Begin Installation option.
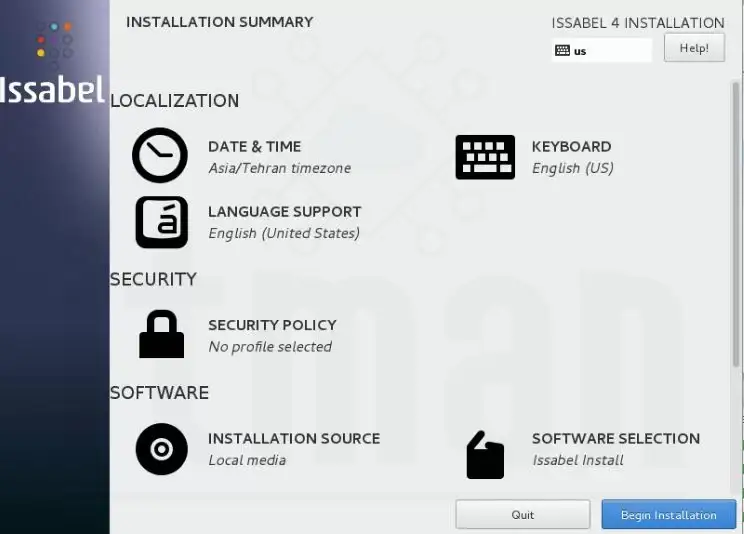
As shown in the image below, the installation process will begin.
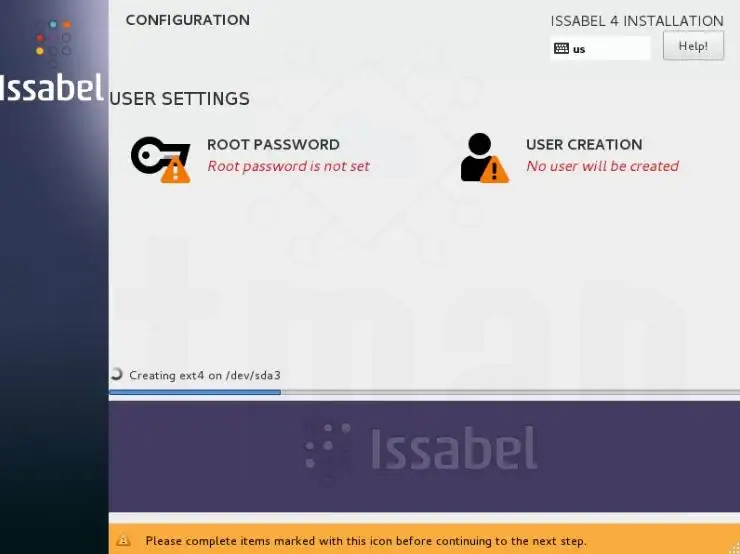
Click on the ROOT Password option and set the root user password.
By clicking Done, you will return to the previous page. The installation process will continue.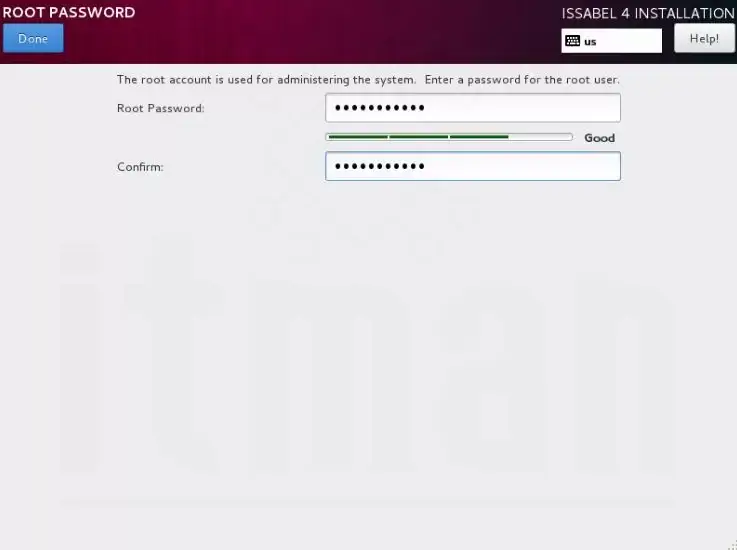
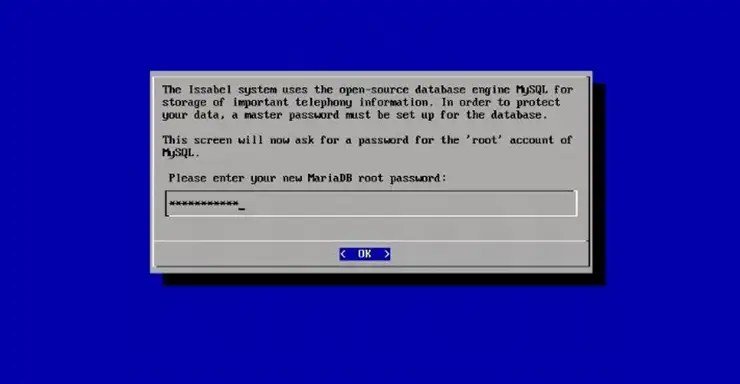
Next, we are presented with the following page. Here, we need to set the Issabel database password.
In the image below, we also set the password for the Admin user.
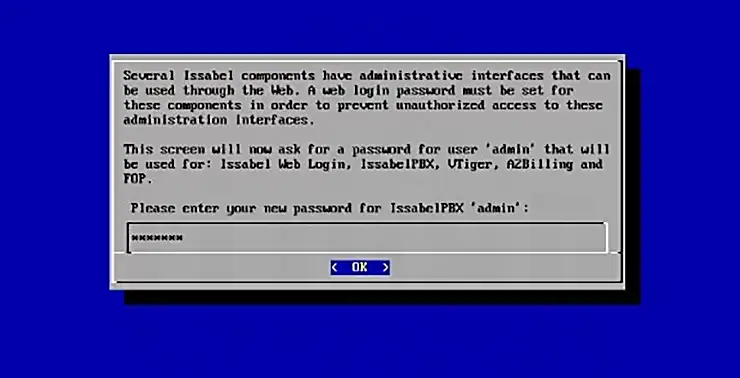
Using the Admin user, we can log in to the Issabel web console.
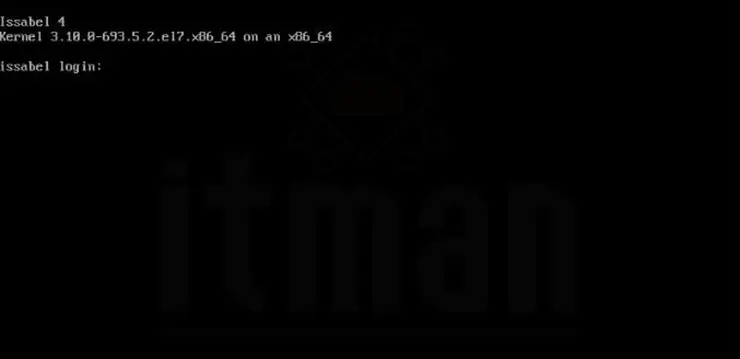
After completing the installation process, we will be presented with the following page. This page is the CentOS console.
You can log into this console using the ROOT username and the password we set.
In this environment, you can use Linux commands.
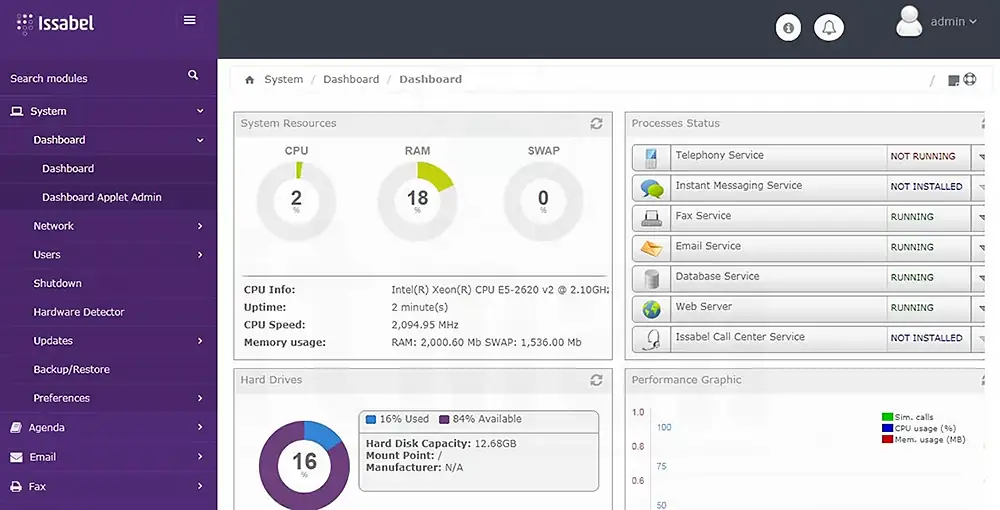
By entering the Issabel IP, we access the Issabel web console and make the necessary changes.
What’s the Difference between Elastix vs Issabel?
Origin and Development:
- Elastix: Elastix was a popular open-source PBX solution based on Asterisk. It provided a comprehensive telephony platform with tools for managing VoIP, call centers, and unified communications. However, Elastix was discontinued in 2019 after the company behind it was acquired by 3CX.
- Issabel: Issabel was created as a direct fork of Elastix after it was discontinued. It aimed to continue the development of the Elastix platform while maintaining compatibility with Asterisk and offering similar features. Issabel is an active, community-driven project.
User Interface:
- Elastix: Elastix featured a web-based GUI that was designed to simplify the management of Asterisk. It offered an easy-to-use interface to configure extensions, call routes, and other telephony features.
- Issabel: Issabel has a similar GUI to Elastix, as it was built to continue the usability of Elastix. The interface is designed to provide a seamless experience for managing VoIP systems, including features for call centers, voicemail, and more.
Updates and Support:
- Elastix: Since the discontinuation of Elastix in 2019, the project has no longer been updated or supported by its original creators, leaving it outdated.
- Issabel: Issabel is still actively developed and supported by the community. Regular updates, bug fixes, and new features are added, making it a modern alternative to Elastix for managing VoIP systems.
Features and Functionality:
- Elastix: Elastix included a complete set of features for managing a PBX, including integration with email, fax, and instant messaging. It also provided a simple interface for managing call centers, voicemail, and IVR systems.
- Issabel: Issabel provides similar features to Elastix, such as call center management, IVR systems, call routing, and voicemail. Additionally, Issabel has enhanced functionality, such as better compatibility with modern telephony hardware and more active community support.
Community and Development:
- Elastix: After Elastix was discontinued, the project lost much of its community and development support.
- Issabel: Issabel has a growing community of users and developers who continue to enhance and improve the platform. The open-source nature of Issabel ensures that it remains up-to-date and adaptable.
While Elastix was a widely used open-source PBX platform, it was discontinued and is no longer supported. Issabel, a fork of Elastix, continues its legacy and remains an actively developed, community-driven alternative for managing VoIP systems and telephony.
Summary
In this guide, we’ve walked through the process of installing Issabel on a server, focusing on setting it up within a VMware ESXi environment. We began by downloading the Issabel ISO and setting up a virtual machine, followed by configuring the system’s time, language, and network settings. The installation process was straightforward, involving selecting the hard disk, configuring partitioning, and setting the root and database passwords.
Once the installation was complete, we accessed the CentOS console using the root credentials and then logged into the Issabel web console using the Admin user. From here, we can make the necessary configurations and adjustments to meet our requirements.
This step-by-step guide ensures a smooth installation of Issabel on your server, allowing you to effectively manage and configure your VoIP system with ease.